

Why hidden moisture is hard to find
Damage to plumbing, sewer lines, and heating systems can cause serious problems and eventually lead to expensive repairs. The whole trouble is that detecting these problem areas at an early stage can be extremely difficult, because visually they are not always noticeable.
The thing is, very often homeowners do not want to see pipes and other utilities out in the open, so contractors carefully hide them inside walls, floor slabs, and behind suspended ceilings. From an aesthetic point of view everything looks clean and convenient, but when it comes to searching for problem spots with leaks, difficulties begin. Moisture seeps from somewhere unclear, and a layout diagram of the utilities — in roughly 90 percent of cases — the homeowner simply does not have. What do you do then?
In Pacific Beach homes, where older plumbing runs behind tile and drywall, a burst pipe or slow drip can stay invisible for weeks. Slab foundations common in the neighborhood make the problem worse: water migrating under the slab has nowhere to go except into the surrounding materials.
Signs that moisture is hiding inside your walls
Hidden water leaks can go on for weeks or months, gradually destroying a home's structure, causing mold, and driving up water bills. In many cases, the homeowner notices the consequences long before the leak itself.
The main warning signs include:
- An unexplained increase in the water bill
- Damp walls and stains on the ceiling
- A musty smell of mold
- Paint or wallpaper peeling away from the surface
- Low water pressure throughout the house
- The sound of running water when all faucets are closed
These symptoms sometimes appear one at a time, sometimes several at once. The first signal of a hidden leak is often the appearance of dark or yellowish spots on grout joints or along baseboards. Moisture can seep through micro-cracks and accumulate inside the wall for weeks before the first visible traces show up on the surface.
Typical places where leaks hide
Before reaching for any instruments, it helps to know where leaks tend to occur most often:
- Under kitchen and bathroom sinks — supply lines and drain connections age and loosen
- Behind bathroom walls — shower valves and tub spouts sit inside closed cavities
- Around water heaters — tank corrosion and relief-valve drips go unnoticed in garages or closets
- Inside ceilings — second-floor plumbing failures travel downward through framing
- Underground supply lines — in Pacific Beach, older galvanized or copper lines corrode in the sandy, salt-exposed soil
- Near washing machines — braided hoses and drain standpipes are common failure points
How to check for moisture without tearing anything apart
A simple overnight test
When you have no instruments at hand, you can run a basic check: examine the walls after a nighttime pause in water use. Shut off every faucet and appliance that uses water before you go to bed. In the morning, check the water meter. If the dial has moved, something is leaking.
You can also tape a small piece of aluminum foil tightly against a suspicious damp spot on the wall and leave it for 24 to 48 hours. If droplets appear on the side facing the wall after you remove it, that is a clear signal — moisture is accumulating inside the wall from within, not from room humidity.
Using a moisture meter
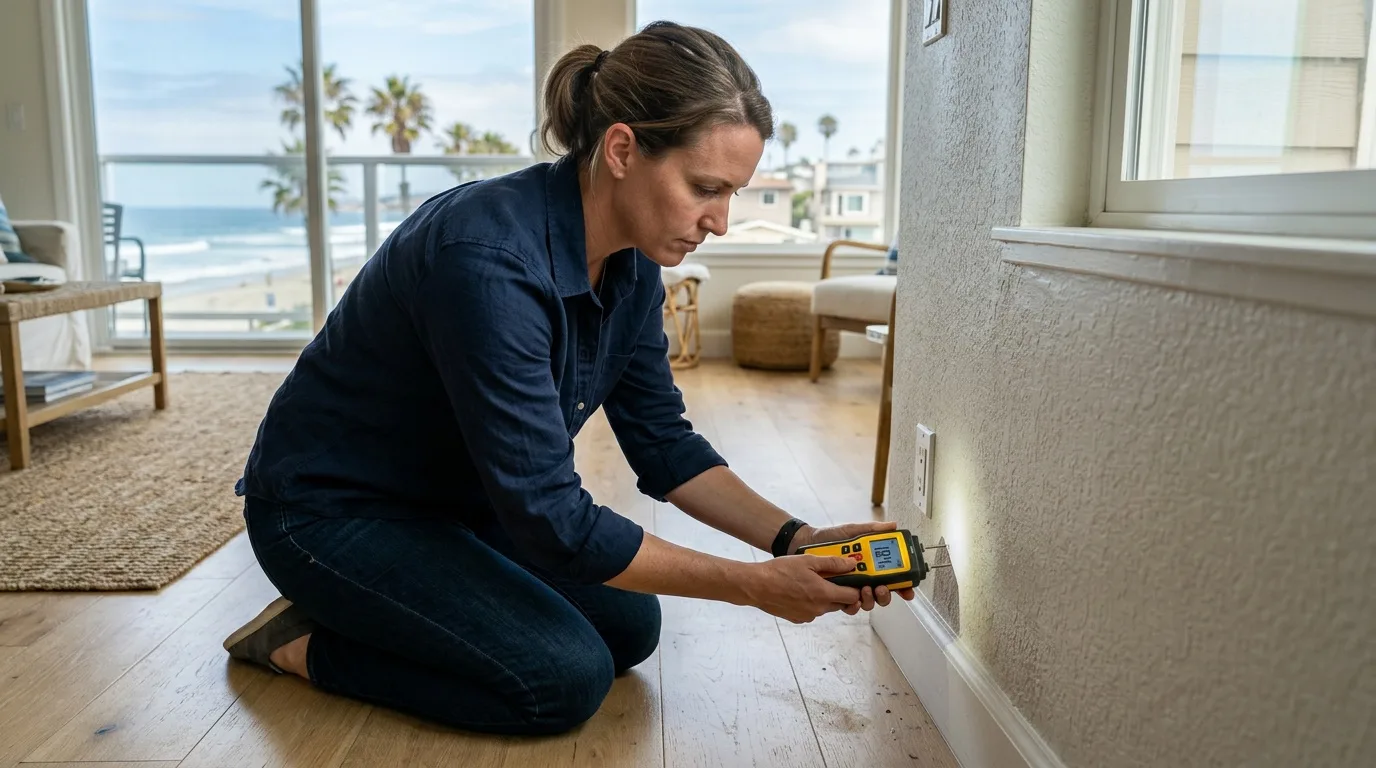
A moisture meter measures the level of moisture inside walls, floors, and building materials and helps determine whether a suspicious area contains elevated humidity — one of the main indicators of a hidden plumbing leak. A contact meter uses two electrode pins inserted a few millimeters into the material and reads electrical resistance between them. The higher the moisture content, the lower the resistance.
For a reliable picture, take not one reading in the center but a series of measurements. Check corners, exterior walls, areas near windows, zones of previous leaks, and spots close to risers and supply stubs. Normal moisture for dry drywall or plaster sits around 5 percent by mass; for wood framing, 8 to 12 percent. If the meter shows 20 to 30 percent or higher, you have a clear case of hidden saturation.
In Pacific Beach, where coastal humidity often hovers around 70 percent outdoors, surface readings can run slightly higher than inland. The key is relative difference: a wall section that reads 18 percent when surrounding sections read 6 percent is wet, regardless of the absolute number. Readings in coastal homes in nearby La Jolla follow the same logic.
Thermal imaging
Thermal-imaging cameras detect differences in surface temperature caused by the presence of water. The physical properties of building materials depend heavily on moisture content — the more moisture, the higher the thermal conductivity. If there is a leak inside your floor or wall, the materials that have absorbed water conduct heat faster, and a thermogram shows this immediately.
A thermal camera picks up differences as small as hundredths of a degree, making hidden defects visible. Water trapped in materials sooner or later begins to evaporate, absorbing energy from its surroundings and creating temperature gradients. Typically, the difference between wet and dry areas runs between 0.5 and 2 degrees Celsius. Any professional-grade thermal camera detects that without difficulty.
The procedure usually goes in stages. First, the entire room is scanned to identify all problem zones. Then a more detailed study of each suspected area follows. A thermal camera "sees" what the human eye cannot — a pipe leaking inside a wall shows up as a cool streak on the thermogram, and you do not need to demolish anything to find it.
Combining methods for the most accurate result
In practice, searching for hidden moisture works best as a combination of approaches. Thermal imaging locates the general zone. A moisture meter then confirms and measures the severity at specific points. Together, the two tools let a technician pinpoint the leak without opening up the entire wall.
When pipes are not buried too deep, a moisture scanner plus a thermal camera can quickly and accurately identify the location of the leak, allowing you to fix it with minimal damage to finishes. You find the problem spot, open up just that section, and repair. No wholesale demolition of the interior, no remodeling of rooms that had nothing wrong with them. Opening one section and drying it is standard water damage restoration practice.
Why speed matters — mold and structural damage
A wall that looks dry on the surface can hold moisture behind the plaster for a long time. Water under laminate flooring spreads much further than the visible puddle. Within 24 to 48 hours, trapped moisture creates conditions for mold growth. Mold after a plumbing failure can appear as early as three to five days after the event, especially if the space is warm and has no proper air circulation.
In Pacific Beach, temperatures rarely drop below 50 degrees even in winter, so the warm-and-damp conditions that fungi need exist nearly year-round. If you discover or suspect a leak, checking for hidden moisture should happen within the first day or two — before the damage compounds.
Moisture standards before you start repairs
Even after the leak is fixed and dehumidifiers have been running, do not rush into refinishing. Construction standards require that wall moisture stay below 8 percent by mass before any new coating is applied. For floor substrates under laminate, tile, or vinyl, the threshold is lower — around 5 percent. Paint applied over a damp wall will blister; laminate laid on a wet slab will buckle within weeks.
Take measurements in several points — at minimum, the corners, exterior walls, and any zone that was visibly wet. Use a pin-type or scanning moisture meter, and if the numbers are borderline, request a lab test or a carbide-bomb (CM) method reading. Document every reading in writing, especially if an insurance claim is involved.
When to call a professional
A handheld moisture meter and a careful visual inspection can reveal a lot, but some situations call for professional diagnostics:
- The leak is inside a slab foundation — acoustic leak-detection equipment is needed
- Multiple wet zones appear in different rooms with no obvious shared pipe run
- Mold is already spreading behind baseboards or inside cabinets
- The home has polybutylene or galvanized supply lines that may have multiple failure points
- You need documented evidence for an insurance claim or a contractor dispute
A qualified restoration company will bring commercial-grade thermal cameras, penetrating moisture meters, and sometimes endoscopic cameras that inspect pipe interiors through a small drilled hole. In Pacific Beach, several restoration firms serve the 92109 zip code and surrounding coastal communities.
Once the hidden leak in your Pacific Beach home is found, water damage restoration in Pacific Beach takes care of the drying and repairs. We also help neighbors with water damage in Ocean Beach homes.