

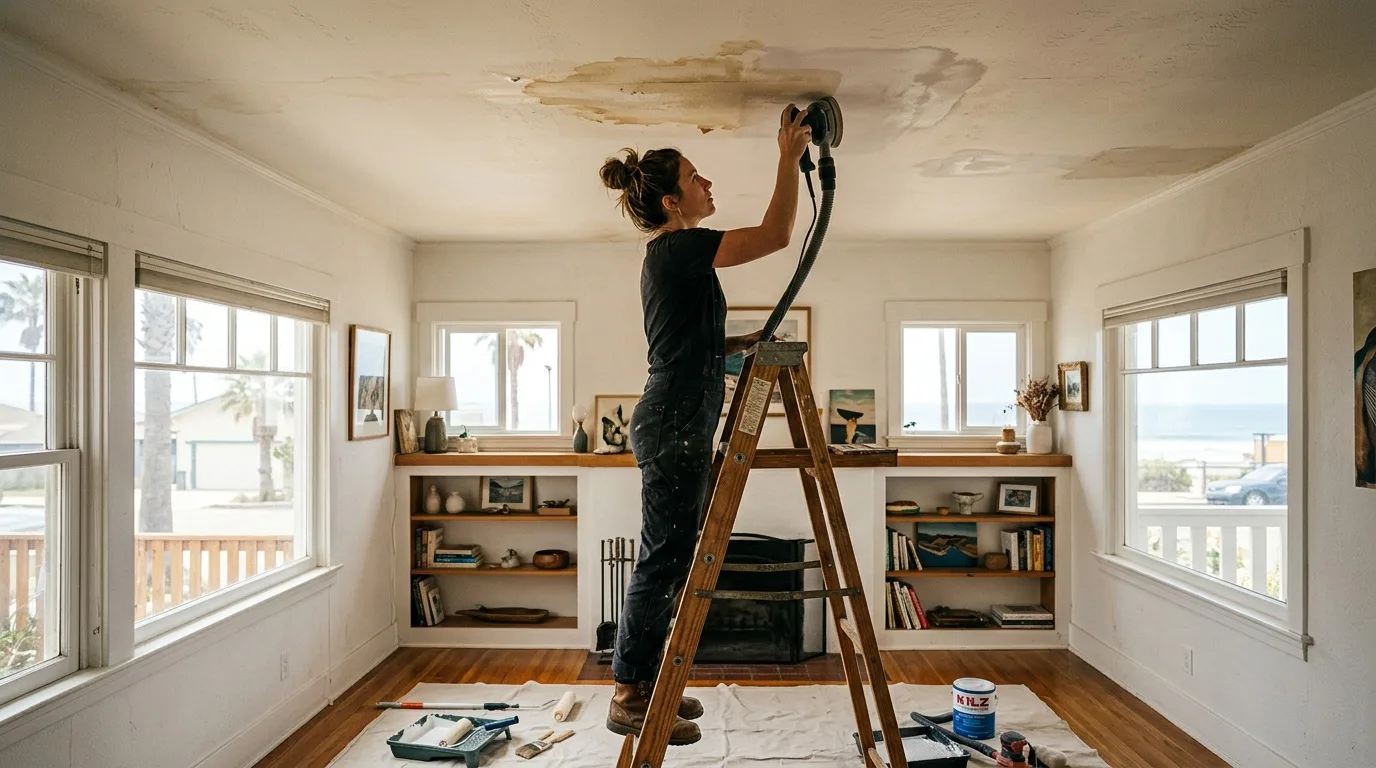
Why water stains appear on ceilings and walls
A stain on the ceiling after a leak is not surface dirt. Water passing through concrete slabs and plaster dissolves and carries mineral salts, rust from rebar, and organic matter. After the surface dries, these substances remain embedded in the finish layer. That is why the yellowish or brownish mark does not wipe off with a damp rag — the discoloration sits inside the plaster and paint film, not on top of it.
In Ocean Beach homes, where the coastal humidity stays elevated most of the year, the problem compounds quickly. Moisture takes longer to leave the slab, salts crystallize more slowly, and mold can start forming under a layer of paint before anyone notices. Houses in neighboring Pacific Beach share that same damp marine air.
Why the stain bleeds through fresh paint
Painting over the mark without preparation is the most common mistake. A fresh coat of paint becomes a film stretched over a "salt deposit." Moisture evaporates, salts crystallize, rust oxidizes — and the stain creeps through the new paint within weeks. The second threat is mold. It develops under the paint coat unnoticed and only shows itself when spores have already spread across a wide area.
The correct sequence of steps
The order matters: dry first, then strip, then disinfect, then prime with a stain-blocking product, and only then paint. Skipping or rearranging these stages almost guarantees the stain will return.
Step 1 — Stop the source and dry the surface
Close the source of the leak first — a roof membrane tear, a supply riser, a neighbor's washing machine hose. Then dry the area for at least two to three days with windows open. A fan speeds the process. If you use a heat gun, be careful — do not aim hot air point-blank at the ceiling. After drying, inspect the surface with a flashlight. Look for paint delamination, swollen putty, and black dots of mold.
Step 2 — Strip the damaged finish
If the surface is whitewashed, the stain soaks into the entire layer. Scrape the yellowed whitewash down to the base with a putty knife. If the ceiling is painted with water-based paint, sand down the blistered area to solid material. Wallpaper that curled and warped after a leak must be cut out — replace the damaged section later.
Step 3 — Remove the stain itself
Several methods work, depending on the type of stain.
Chlorine bleach. Mix one part household bleach with three to five parts water. Apply to the stain with a sponge or roller, leave for ten to fifteen minutes, and rinse off. Wear rubber gloves and safety glasses; keep a window open.
Baking soda. Three tablespoons per liter of warm water. Apply, let it dry, brush off the white residue. Soda works on organic discoloration but does not dissolve rust or iron salts — it will not help with the rusty ring around the stain.
Copper sulfate solution. Ten to thirty grams per liter of warm water (a one to three percent solution). Good against mold colonies. Do not make it stronger — a concentrated solution leaves blue-green streaks of its own.
Vinegar and oil (for wooden surfaces). Mix white vinegar with olive oil in equal proportions. Apply along the wood grain. Acetic acid reacts with mineral and alkaline deposits, destroying rust and limescale residues. It penetrates whitewash layers, causing particle swelling and detachment, and also has bleaching and mild disinfecting properties.
Step 4 — Apply stain-blocking primer
This is the critical step that most people skip. A stain-blocking (isolating) primer creates a film that does not let salts and rust migrate to the surface. A regular strengthening primer will not work here — it is designed to reinforce loose substrates, not to seal stains. Apply the stain-blocking primer with a roller in one or two coats following the manufacturer's instructions.
Step 5 — Finish coat
After the primer has cured, apply two coats of your ceiling or wall paint. For ceilings with persistent rust stains, some painters first lay down a thin coat of oil-based enamel or alkyd paint, then cover with two coats of acrylic latex. The oil layer acts as an extra barrier.
Rusty, black, and oily stains — what is different
Rusty marks come from rebar or metal fasteners inside the slab. Treat with bleach two to four times depending on intensity. If the stain remains after bleaching, apply oil-based paint first, then topcoat with latex.
Black stains are almost always mold. Treat with undiluted household bleach — the colony will lighten within five to six minutes. After that, apply an antimicrobial primer before the stain-blocking coat. In Ocean Beach, where salt air and fog keep indoor humidity high, black mold in leak-damaged areas appears faster than in drier inland neighborhoods.
Oily stains sometimes appear where water carried lubricant or pipe sealant residue through the slab. Prime the area, cover with oil-based paint, then finish with latex.
Different ceiling and wall types
Whitewashed ceiling. The stain penetrates the entire layer. Scrape the yellowed whitewash down to concrete, prime, and re-whitewash or paint.
Latex-painted ceiling or wall. Sand the blistered zone, apply stain-blocking primer, repaint.
Wallpaper. Cut out the damaged section. Before hanging the replacement piece, apply stain-blocking primer to the wall underneath.
Drywall (gypsum board). If the sheet has swollen and deformed, cut out the damaged area and install a patch. Smaller stains that did not warp the board can be primed with a stain blocker and painted over.
Stretch ceiling (PVC film). Surface stains wash off with warm water and a drop of dish soap on a soft sponge. Limescale deposits on the inside of the membrane are harder — those usually require a technician to partially detach the ceiling, clean the back side, and reinstall it.
When a spot repair will not be enough
There are situations where local treatment does not solve the problem:
- Plaster has swollen and is peeling off in sheets.
- Mold has spread over more than about ten square feet.
- Drywall has warped from prolonged water contact.
- The leak source has not been fixed and water continues to come through.
In these cases the damaged section needs to be torn out to the substrate, and a proper repair — with new plaster, mesh reinforcement, primer, and paint — is required. Tear-out, drying and rebuild are the usual stages of water damage restoration. Homeowners in Ocean Beach dealing with older plumbing or flat-roof leaks should address the cause before investing in cosmetic repairs.
Health risks of ignoring water stains
A water stain that sits untreated is not just ugly — it signals ongoing moisture, which means mold. Mold spores settle in airways and can cause rhinitis, sinusitis, chronic bronchitis, and in some cases pneumonia. People with asthma experience worsening symptoms. Mold toxins can also trigger skin reactions and headaches. The sooner the stain is cleaned, sealed, and painted over properly, the less chance mold has to establish a colony inside the wall or ceiling.
How to prevent stains from coming back
Water passing through building structures picks up and transports mineral salts, dirt, and rust particles from metal elements in the plaster. The only sure way to prevent repeat staining is to fix the leak at its source. Inspect where the staining appears darkest or wettest — that spot is usually closest to the breach. Check pipes, risers, radiator connections, and plumbing fittings both in your own unit and — if you share a building — in the unit above.
For additional protection, apply a penetrating waterproofing compound (cement-polymer or polyurethane mastic) to the slab before finishing. In wet-prone rooms, a coat of liquid waterproofing membrane before the primer adds another layer of defense against future leaks.
If a stain in your Ocean Beach home keeps bleeding through, the leak behind it is usually still active, and our water damage restoration in Ocean Beach starts by tracing it. Next door, we handle water damage in Point Loma homes the same way.