

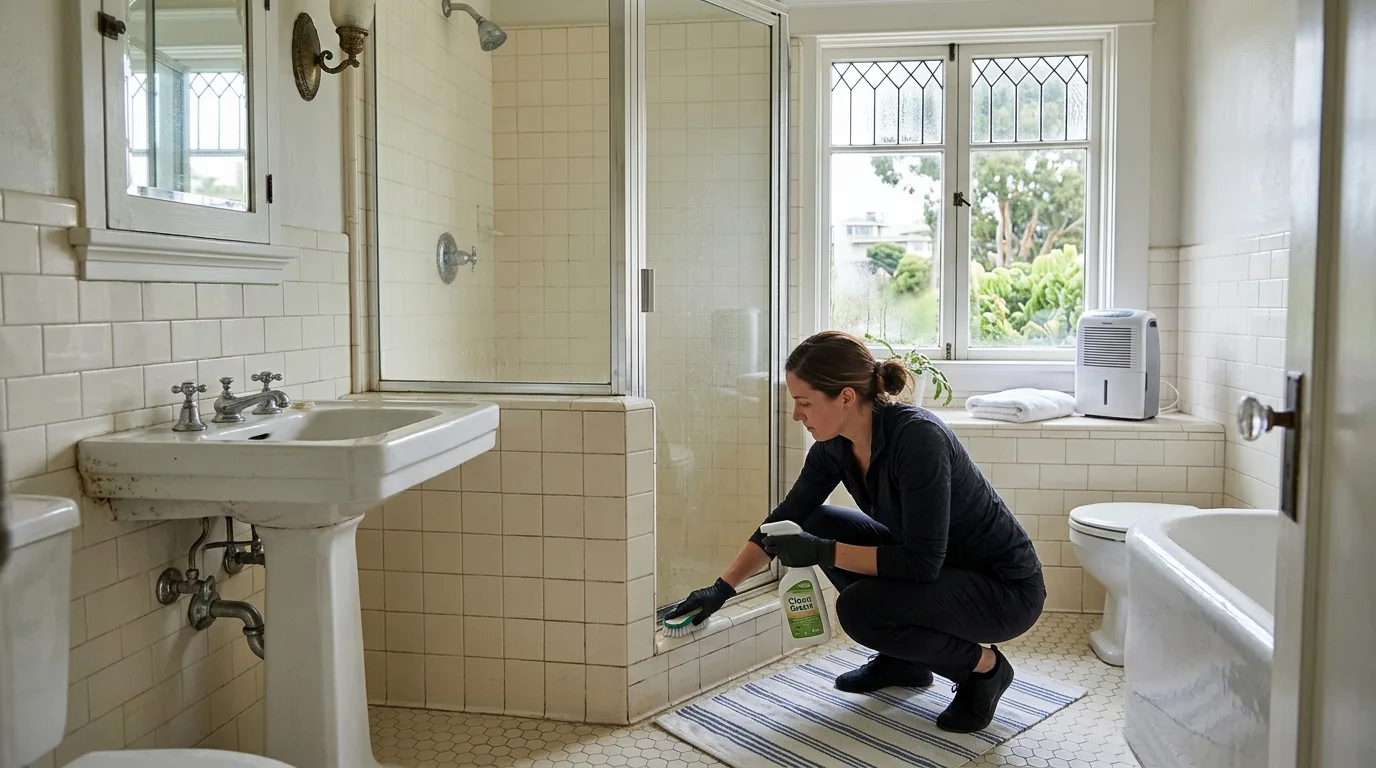
Why mold appears in bathrooms: the real causes
Mold is a living organism — a colony of microscopic fungi. For it to appear and multiply, three factors need to coincide, and all three are commonly found in bathrooms.
Mold spores are present in the air virtually everywhere. They germinate only in a humid environment (above 70–80%) at temperatures starting from around 68°F. A bathroom is an ideal incubator. A hot shower saturates the air with steam, which settles on walls as condensation. If this moisture does not evaporate or get removed within one to two hours, water penetrates the porous structures of materials — grout, concrete — and gives life to the fungal mycelium.
In older homes throughout Point Loma, ventilation ducts are often clogged, and airflow is weak or absent altogether. This is the fundamental reason mold takes hold. Chemical treatments kill existing mold, but only ventilation prevents it from being born in the first place.
Why bathroom mold is dangerous for your health
The most common uninvited guest in our homes is Aspergillus niger, commonly called black mold. This is not simply dirt. The colony releases millions of spores and toxins into the air. When inhaled, they settle in the lungs and on mucous membranes, causing:
- Chronic allergies and dermatitis
- Respiratory diseases that can become chronic — bronchitis, asthma, pneumonia, sinusitis
- Headaches and a weakened immune system
- Skin rashes and stomach upset with prolonged exposure
One square meter of active mold can produce hundreds of millions of microscopic spores every hour. For households in older Point Loma homes — where ventilation may have been compromised for years — this is a health concern worth taking seriously. Older homes in nearby Ocean Beach carry this risk as well.
Ventilation: the only reliable long-term solution
Before reaching for fungicides, you need to diagnose your home's airflow systems. Without fixing ventilation first, you will be scrubbing walls every couple of months. The same airflow check comes first for bathroom mold in Coronado homes.
How to test your natural exhaust (the paper test)
Take a sheet of thin paper — a tissue or a piece of toilet paper — and hold it up to the ventilation grille with the bathroom door open and a window open in an adjacent room. If the paper sticks to the grille, you have airflow. If it falls, the duct is blocked. Run the test also with doors and windows closed to understand how the system performs under real daily conditions.
Why simply opening the door after a shower is not enough
Many people believe that leaving the bathroom door open after a shower is sufficient. This is a mistake. Moisture from the bathroom simply migrates into the hallway and living spaces, raising humidity throughout the entire home without actually removing it. Effective drying means removing humid air to the outside through a ventilation duct.
The role of air intake: why exhaust does not work without a supply vent
Ventilation is a cycle: intake, transfer, exhaust. An exhaust vent cannot remove air if nothing comes in to replace it. In homes with sealed modern windows — a common retrofit in many older Point Loma houses — air exchange stops entirely. Installing window or wall air valves in living areas creates the positive pressure that literally pushes moisture toward the bathroom exhaust.
How to set up proper bathroom ventilation
Step 1: Ensure air transfer into the bathroom
Air must be able to enter the bathroom freely even when the door is closed. There should be a gap of at least half an inch to three-quarters of an inch between the bottom of the door and the floor. If you have a tight threshold seal, ventilation simply will not work. If trimming the door is not possible or not visually acceptable, a decorative transfer grille can be installed in the lower part of the door panel.
Step 2: Install an exhaust fan
Natural draft is often insufficient for quickly removing steam after a shower. The solution is an exhaust fan. The right capacity is calculated by multiplying the room volume in cubic feet by 8 to 10 air changes per hour. For a standard bathroom, a unit rated at about 50–80 CFM will do. Pay attention to noise level — anything under 1.0 sone is considered comfortable.
The most effective option is a model with a humidity sensor (hygrostat). It turns on automatically when you shower and shuts off only when humidity returns to normal. A timer allows the fan to keep running for a set period after you leave and turn off the light. An exhaust fan should also have a backdraft damper so that odors and spores from shared ductwork do not travel back into your bathroom.
Step 3: Upgrade the supply side
Without proper air intake, a powerful bathroom fan will either stall or start pulling air from the kitchen or other rooms. Installing fresh-air vents or intake units in bedrooms restores balance and forces moisture to exit through the bathroom exhaust rather than settling on walls.
Where mold hides and how to find it
Mold is devious and often develops in hidden spots before showing up as visible black patches.
Ceilings and walls. If the ceiling is painted, spots are visible right away. With older plaster ceilings common in Point Loma's mid-century homes, mold can grow behind layers of paint for years. A persistent musty smell that does not go away after airing out the room is a telltale sign.
Tile grout. Cement-based grout is porous — it absorbs water like a sponge. If the grout between tiles has darkened, the fungal network has already penetrated deep into the material. Surface cleaning alone provides only a temporary fix.
Sealant and shower stall edges. The corners where the bathtub meets the wall and the joints of a shower enclosure are risk zone number one. Water pools here constantly. Silicone sealant, even the kind labeled "sanitary," loses its fungicidal properties over time and turns black from the inside.
What to use to remove existing mold
Once ventilation is addressed, it is time to destroy existing colonies.
Store-bought fungicides and antiseptics
Professional-grade products typically contain chlorine or active oxygen combined with surfactants. Spray-type cleaners work well on visible surface growth. Construction-grade antiseptics designed for deep treatment of concrete and grout are better suited for use during renovation work. Follow manufacturer directions — most require a contact time of 20 to 30 minutes.
Household remedies
If commercial products are unavailable or there are allergy sufferers in the home, household alternatives can help, though they are less effective against deep infestations:
- White vinegar kills up to 80% of mold species. Apply it with a spray bottle, leave for an hour, then rinse.
- Baking soda is a safe mild abrasive and a natural antiseptic. A paste helps mechanically scrub away surface buildup.
- Hydrogen peroxide (3%) is a good oxidizer for removing spores from hard surfaces.
- Tea tree oil is a natural fungicide. It does not require rinsing, helps prevent reappearance, but has a strong scent. Good for preventive treatment.
One application is never enough, even with quality products. Repeat treatments are essential.
How to mechanically remove embedded mold
If the fungus has eaten into the material, simply spraying a cleaner will not be sufficient. Damaged areas need repair.
Blackened silicone sealant cannot be saved — it must be cut away completely with a knife or a specialized scraper. Cement grout affected by mold should be removed mechanically using a grout saw or a rotary tool.
After removal:
- Wash the cleaned joints thoroughly with a chlorine-based cleaner.
- Dry completely — a heat gun works well for this.
- Apply a penetrating antifungal primer generously.
- After the primer dries, apply new grout (epoxy grout is best because it does not absorb moisture) and fresh sanitary silicone sealant.
On painted ceilings, scrape the mold off with a putty knife down to the bare surface. Treat the exposed area with antiseptic before repainting.
Ongoing prevention so mold does not return
To make sure your work is not wasted, follow a few straightforward rules.
- Clean ventilation grilles from dust every three months. Dust is both a food source for spores and a barrier to airflow.
- Use a towel warmer or heated towel rack — it warms the air and lowers its relative humidity, reducing the chance of condensation forming.
- Get a hygrometer. If humidity in the bathroom stays above 60% even when the shower has not been used, ventilation is not keeping up, and you need to increase airflow capacity.
- Wipe down wet surfaces after showers — walls, the tub rim, glass panels.
- Fix plumbing leaks promptly. Even a slow drip under the sink creates the persistent dampness mold needs.
- Use moisture-resistant finishing materials when renovating. Older Point Loma homes often have original plaster, drywall, or wood trim in bathrooms that absorbs water far more readily than modern materials.
When to call a professional
Self-treatment is practical when the affected area is small — roughly under about five square feet. If the mold covers a larger area, the fungal roots have likely penetrated too deeply for surface methods to work. A professional crew will identify the underlying cause through inspection (sometimes including microbiological analysis), eliminate that cause first, then perform a multi-step removal: surface stripping, chemical treatment in at least two passes, drying, and application of a protective coating. The entire process typically takes one to two days.
For older homes in Point Loma — especially those built in the 1940s through 1970s — bathroom mold problems are often intertwined with aging plumbing, original single-pane windows, and ventilation systems that were not designed for modern sealed construction. Addressing the root cause is always more cost-effective than repeated surface treatments.
When grout and caulk turn black again within a season, the moisture is usually getting past the tile, and mold remediation in Point Loma handles that deeper work. Older houses across the city face the same issue, covered by mold remediation in San Diego.