

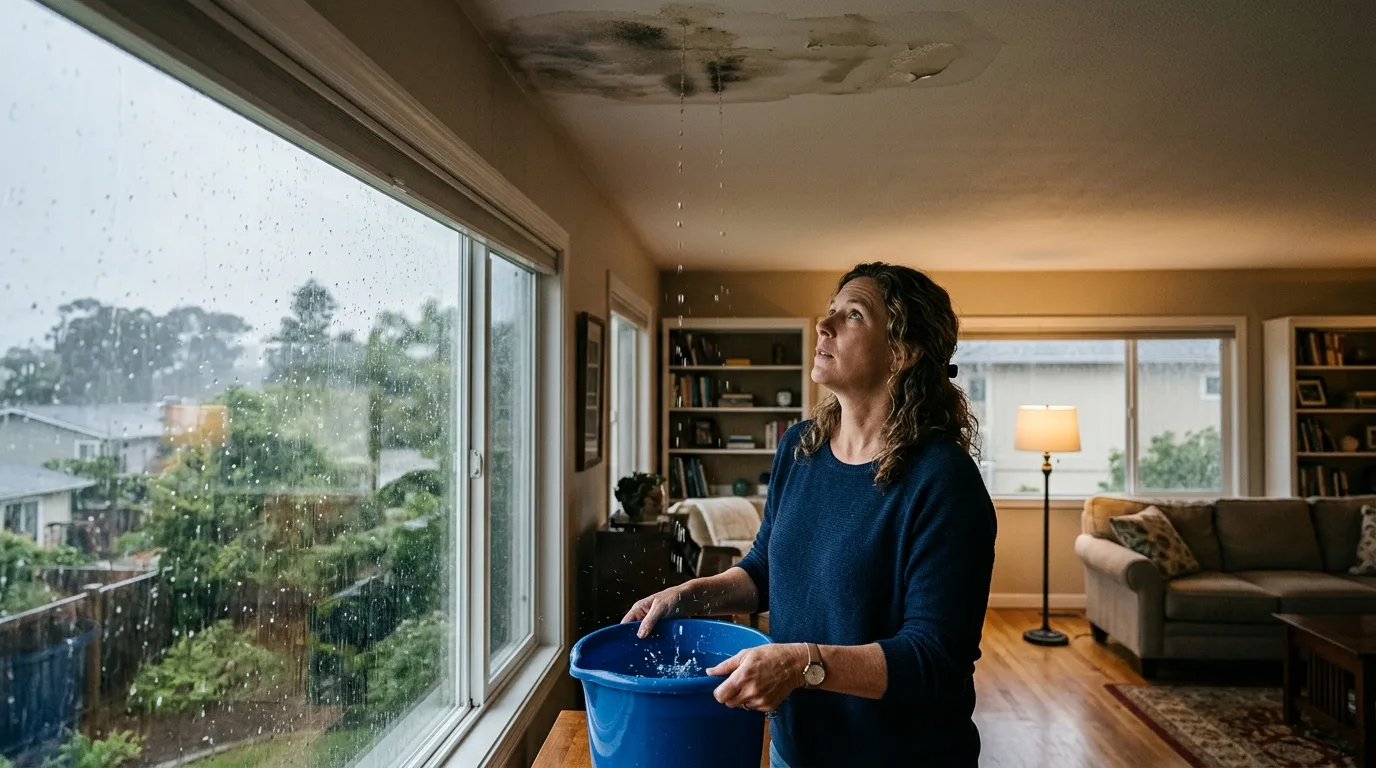
What to Do First When Your Ceiling Starts Dripping
A wet spot spreading across the ceiling during a rainstorm is hard to ignore. But before you start investigating the source, there are several immediate steps that protect both your home and your safety.
Place buckets, basins, or any containers you have under the active drips. Water pooling on hardwood or laminate floors causes damage surprisingly fast, and the goal right now is containment. Move electronics, rugs, and furniture away from the affected area.
Next, shut off electricity to the room where the leak is active. Water is a conductor, and a ceiling full of moisture near light fixtures or wiring creates a real short-circuit risk. Flip the breaker for that zone and use battery-powered flashlights instead.
If the leak is small and you can safely reach the attic, go up with a bright flashlight while it is still raining. The active water flow is much easier to trace when the rain is actually falling. Mark any wet spots you find — a piece of chalk or a strip of painter's tape works fine. You will need to find them again later in dry conditions.
Types of Roof Leaks Carlsbad Homeowners Deal With
Not every ceiling drip behaves the same way, and the pattern tells you something about the cause.
Storm leaks show up during or right after heavy rain. These are the most common in Carlsbad during the winter wet season. They point to a breach somewhere in the roofing material or flashing. Homes in neighboring Oceanside deal with the same winter storm leaks.
Dry leaks appear without any rain at all. A small amount of moisture accumulates inside the insulation layer over weeks or months, then works its way through to the ceiling. This often happens on warm days when temperature differentials cause condensation on the underside of the roof deck.
Intermittent or "flickering" leaks come and go unpredictably. They are caused by micro-cracks, tiny gaps in sealant joints, or slight shifts in roofing elements that only let water in under specific wind conditions. A leak that only appears when rain blows from the southwest, for example, falls into this category.
Snowmelt leaks are less of a concern in coastal Carlsbad but can occur in higher-elevation areas of San Diego County after rare snowfall events.
Common Causes of Roof Leaks
Before you climb up to look, it helps to know what you are looking for. Most residential roof leaks trace back to one of these causes:
- Mechanical damage. Fallen tree branches, hail, or debris carried by strong winds can crack tiles, dent metal panels, or tear shingle tabs. Even small impacts weaken the material enough that the next heavy rain gets through.
- Shifted or displaced roofing elements. Wind lifts edges of shingles or tiles; thermal expansion and contraction loosen fasteners over time. The gaps that form at seams and overlaps are often too small to notice from the ground but wide enough for water.
- Failed flashing and sealant at penetrations. Water most commonly enters where the roof surface meets a vertical element — around chimneys, vent pipes, skylights, satellite dish mounts, and where dormers join the main roof. When flashing corrodes, pulls away, or the sealant dries out, these junctions become the path of least resistance for water.
- Worn-out roofing material. Every material has a service life. Asphalt shingles in a coastal climate like Carlsbad's take UV degradation year-round. Roofs on homes in nearby Encinitas get the same year-round sun. Concrete and clay tiles crack with age. Flat roof membranes become brittle. Once the material is past its effective lifespan, leaks multiply.
- Improper original installation. Incorrect overlap direction, insufficient fasteners, wrong underlayment, or poor valley construction — installation errors sometimes take years to show up, but they eventually do.
- Complex roof geometry. The more valleys, hips, and transitions a roof has, the more potential failure points. Wide-sheet materials that have to be cut into shaped pieces around dormers and chimneys create seams that are harder to seal reliably.
How to Find the Leak
Here is the frustrating part: a wet spot on the ceiling does not mean the leak is directly above it. Water on a roofing surface can travel along rafters, sheathing, and insulation for a considerable distance before it finds a gap and drips through. A leak over the bedroom can produce a stain in the hallway. Keep that in mind during your search.
Inspecting From the Attic
The attic is the best place to start. Go up during daylight — if the roof has no insulation between the rafters and the deck, you may be able to spot pinholes of light where the breach is. With a strong flashlight, look for:
- Wet streaks or stains on the underside of the roof deck
- Dark patches on rafters or trusses (signs of repeated wetting)
- Mold or mildew growth — even a faint musty smell is a clue
- Soft, spongy, or discolored insulation
Divide the attic space mentally into sectors and check each one systematically. When you find a wet area, measure the distance from that spot to the nearest gable wall or ridge. You will use these measurements to locate the corresponding area on the exterior.
Inspecting the Roof Exterior
Choose a dry, clear day. Start at the ridge and work downward toward the eaves. Pay attention to:
- Cracked, curled, or missing shingles and tiles
- Rust spots or corrosion on metal components
- Gaps or lifted edges around flashing
- Clogged or detached gutters and downspouts (standing water in gutters backs up under the roof edge)
- Accumulated leaves, pine needles, and debris in valleys — these dam water and force it under the roofing
Mark any suspicious spots. If you measured from the attic, match the interior measurement to the exterior to narrow down the zone.
The Hose Test for Hidden Leaks
When visual inspection does not reveal the source, a garden hose can help. Have a helper stay in the attic with a flashlight. Starting at the lowest point of the roof and working upward, soak each section with the hose for several minutes. The helper watches for dripping. This method is slow, but it will find even tiny defects that are invisible to the eye.
For flat or low-slope roofs, professional contractors sometimes use electronic leak detection equipment — a technique called electronic vector mapping — that can pinpoint microscopic punctures in the membrane. Infrared thermography is another option: after sunset, wet areas under the roof surface cool more slowly than dry areas, and a thermal camera picks up the temperature difference from the ground.
Fixing the Leak: Depends on Your Roofing Material
Once you have located the breach, the repair approach depends on what your roof is made of.
Asphalt Shingles
Damaged or missing shingles are straightforward to replace. Lift the edges of the surrounding shingles, remove the nails holding the damaged one, slide it out, and slide the new shingle in. Nail it down and seal the nail heads and edges with roofing cement. For small cracks that have not gone all the way through, a bead of roofing sealant on the crack may be enough as a temporary measure.
Metal Roofing and Standing Seam
Individual panels are heavy and interlock with their neighbors. A punctured or corroded panel typically needs full replacement — you cannot patch a hole reliably on metal roofing exposed to coastal air. The damaged panel has to be worked out from under the overlapping panels, and the new one slid into place. This is usually a two-person job. Before installing the new panel, check the condition of the underlayment beneath it. If the moisture barrier is compromised, replacing just the metal will not solve the problem for long.
Concrete and Clay Tile
Tile roofs are common in Carlsbad. Individual cracked or broken tiles can be lifted out and replaced without disturbing the rest. Carefully remove the damaged tile, inspect the waterproof membrane underneath, and patch or replace the membrane if needed. Set the new tile with appropriate sealant at the joints. Work carefully — adjacent tiles are brittle and crack easily if you step on them.
Flat Roof Membranes
For built-up or modified bitumen roofs, small punctures can be patched by cutting away the damaged layer, cleaning the area, and applying a new patch with at least 8 inches of overlap on all sides, sealed with bitumen or adhesive as appropriate. For single-ply membranes (TPO, EPDM), a matching patch bonded with the manufacturer's adhesive is the standard approach. Larger areas of deterioration usually call for re-roofing rather than spot patches.
A Note on Flashing Repairs
If the leak traces to a flashing failure rather than to the roofing material itself, the fix involves removing the old flashing, cleaning the surfaces, and installing new step or counter flashing with fresh sealant. Around chimneys and vent pipes, use the sealant specified by the flashing manufacturer — generic silicone often fails within a few years.
When the Leak Shows Up in Rainy Season and You Cannot Get on the Roof
Carlsbad's rainy months — roughly November through March — can bring stretches of weather that make roof work unsafe or impossible. If you discover a leak during an active storm, the realistic option is a temporary interior fix: place containers, lay down plastic sheeting to protect floors, and if you can safely access the attic, apply roofing mastic or a piece of heavy-duty tarp over the wet area from inside. This buys time until conditions allow an exterior repair.
Do not attempt to work on a wet roof. The risk of a fall on slippery tiles or shingles is not worth it for a temporary patch.
Preventing Leaks Before They Start
Most roof leaks are preventable with basic maintenance. A twice-yearly inspection — ideally in spring and again in fall before the rains — catches small problems before they grow. Here is what to check:
- Clear gutters and downspouts of leaves and debris. Backed-up gutters push water under the roof edge.
- Trim tree branches that overhang the roof. Fallen branches cause mechanical damage, and leaf litter traps moisture in valleys.
- Look for cracked, curled, or displaced shingles and tiles and replace them promptly.
- Check flashing and sealant around all roof penetrations. Re-seal any gaps.
- After major storms, do a quick visual inspection from the ground with binoculars. Note anything that looks different and investigate when it is safe to go up.
- Ensure attic ventilation is adequate. Poor ventilation causes condensation on the underside of the roof deck, which leads to wood rot and eventually to leaks even when the roofing surface itself is intact.
Addressing a small crack or a lifted shingle today avoids the ceiling stain, the drywall repair, and the mold remediation bill down the road. In a coastal climate like Carlsbad's, where salt air accelerates corrosion on metal components and UV exposure is year-round, staying ahead of maintenance is the single most effective thing a homeowner can do.
If a roof leak has already soaked the insulation, drywall or flooring, our restoration crews in Carlsbad take on the drying and repairs described under water damage restoration in Carlsbad. A Carlsbad-only site also explains their water damage service.