

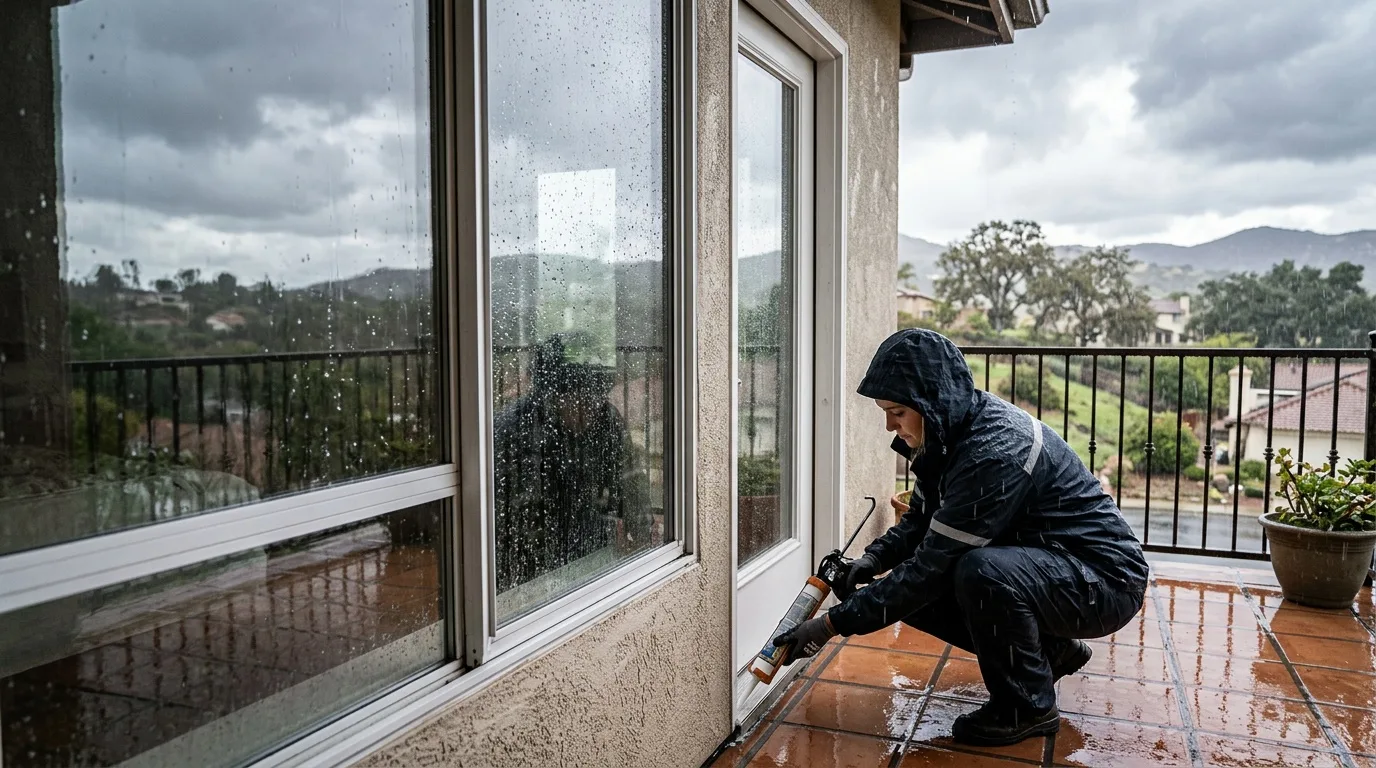
Where the Water Gets In
When the rainy season hits Ramona, homeowners sometimes discover an unpleasant picture: water on the windowsill, damp streaks along the balcony ceiling, or small puddles near the sliding door. In most cases the leak is not some dramatic failure — it is water finding a gap that was always there but only matters once the rain is heavy and sustained. Storm leaks in Lakeside homes tend to start at the same gaps.
Water on the windowsill can appear for two broad reasons. Either the window assembly itself is letting rain through, or the moisture is condensation forming on the inner surface of the glass and dripping down. The two look the same at first glance, but the causes and fixes are completely different. Before tearing anything apart, it pays to figure out which one you are dealing with.
Common Causes of Window Leaks During Rain
Worn-out weatherstripping
The rubber gasket between the glass unit and the frame loses elasticity over time. After a few years of sun exposure and temperature swings — and Ramona gets plenty of both — micro-cracks appear in its structure. The gasket shrinks slightly, opens up gaps it once sealed, and rain begins to seep through. A typical service life for a standard gasket is around five years. That lifespan can be extended if the rubber is treated periodically with a silicone-based conditioner, but most people never do it.
Cracks are the first thing that may catch your eye during an inspection. If no visible damage is found but outside noise has gotten louder, there is a good chance the gasket has simply gone stiff and no longer presses tightly against the frame. You can test this with a lit match held near the suspect area: if a draft pulls the flame inward, the seal is not holding.
Clogged drainage channels
Every window frame has small drain holes along its bottom rail. Their job is to carry away any water that lands on the horizontal surface of the lower profile. When those holes get plugged with dust and debris, water backs up and starts creeping toward the interior side of the frame. You can check this with a thin piece of wire — if it does not pass through, the drain is blocked. The same wire usually clears the obstruction.
Sagging sash
A heavy sash — especially one carrying a double or triple glass unit — can gradually pull its hinges out of alignment. The result is a gap at the top of the frame where the sash no longer meets the seal. Rain driven by wind finds that gap with no trouble at all.
Bad installation or cheap sealant
The foam filling between the frame and the rough opening is supposed to be a continuous, even bead with no voids. When installers rush the job or use bottom-shelf materials, the seal breaks down. Sometimes the foam was never applied thickly enough; other times it degraded under UV exposure because nobody covered it with a protective layer. The result is not only leaks but also drafts and increased outside noise.
Seasonal adjustment left in summer mode
Modern window hardware has an eccentric cam on the edge of the sash that controls how tightly the sash presses against the frame. In the warm months the cam is rotated to a lighter setting so fresh air trickles through the perimeter. If no one switches it back to the winter position before the rains come, there is enough of a gap for water to get through during a hard storm. The adjustment requires a hex key and takes about two minutes per window.
Why Balconies Leak — and Why It Spreads
A balcony leak has its own set of causes. After glazing a balcony or an enclosed porch, homeowners sometimes notice water coming in during storms because of poor waterproofing at the construction stage, or because the existing waterproofing has simply aged out.
Three scenarios come up most often:
- The cap flashing along the top of the glazing does not sit tight against the wall, leaving a gap where rainwater and snowmelt find their way in.
- The balcony slab above has a slight back-slope toward the building wall, so water pools in the corner instead of draining away from the structure.
- The drip edge or water diverter at the base of the glazing frame is missing entirely, or was installed without sealant between the metal and the frame.
Persistent moisture makes a balcony nearly unusable. Yellow stains appear first, then mold follows. The problem does not stay contained — once the water path is established, damp patches start showing up on interior walls of the adjoining room whenever it rains.
Finding the Leak Before Fixing It
Diagnosing the source matters more than jumping to a fix. A systematic check saves time and prevents unnecessary work:
- Inspect all weatherstripping around windows and balcony glazing. Look for cracks, gaps, and sections that have pulled away from the channel.
- Test drain holes with a thin wire or a toothpick.
- Check whether the sash closes flush against the frame at every point along the perimeter. A simple test: slip a sheet of paper between the sash and the frame in different spots, close the window, then pull. If the paper slides out easily, the clamping pressure at that point is too low.
- Examine the exterior side of the installation foam — is it exposed to sunlight? Is it crumbling? Is it continuous around the full perimeter?
- On the balcony, look at the cap flashing and the junction between the glazing frame and the slab above. Run your hand along the joint; any roughness, gaps, or crumbling caulk is a clue.
Sealing Windows: What a Homeowner Can Handle
Replacing weatherstripping
This is a straightforward job:
- Remove the old gasket from its channel using a flat screwdriver or a putty knife.
- Clean the groove of all dirt and old adhesive residue.
- Press the new gasket into the channel starting from one corner of the frame.
- Work your way around the full perimeter, keeping the gasket snug in the groove without stretching it.
- Trim the excess where the two ends meet.
New gasket material is available at most hardware stores in Ramona and typically runs a few dollars per linear foot.
Adjusting sash hardware
If the sash is sagging, the fix is in the adjustment screws on the hinges. Open the window and locate the screw on the upper hinge — turning it with a hex key shifts the sash up or down. The lower hinge usually has a side-mounted screw that moves the sash left or right. The eccentric cams on the sash edge control the clamping force. All cams should be set to the same position; if even one is rotated differently, the seal will not be uniform.
When to call a professional
Some problems are not suited for a weekend fix. A cracked glass unit needs a professional swap. Deformed frames require specialized straightening tools. And if the installation foam behind the trim is the source — removing interior trim, the sill, and auxiliary pieces to re-foam the perimeter is a job that goes wrong quickly without experience.
Sealing a Leaking Balcony
Choosing the right sealant
For balcony joints and seams, polyurethane sealant is the go-to material. It stays flexible after curing, does not break down from moisture exposure, and handles the temperature range that Ramona experiences — from occasional winter lows near freezing up to summer highs well above 100 °F. It bonds to concrete, metal, and wood, which matters because a typical balcony joint involves at least two of those materials meeting each other. Homes in nearby Poway see a similar range of winter and summer temperatures.
Other options have trade-offs:
- Silicone sealant — high elasticity, good UV resistance, but poor paint adhesion if you need to cover it later.
- Acrylic sealant — paintable and low-odor, but less elastic and more likely to crack if the joint moves.
- Polysulfide (thiokol) sealant — a two- or three-component system that cures even on damp surfaces, used mostly in commercial glazing.
Surface preparation
Before applying any sealant:
- Remove loose material, dust, and old caulk from the joint. If the old sealant is stubborn, a utility knife or an oscillating tool speeds things up.
- Wipe the surfaces with a damp cloth — no soap, no solvent. Let them dry.
- Apply a primer or bonding agent to the joint faces if the sealant manufacturer calls for one.
- For larger gaps — anything wider than about half an inch — fill the void first with a backer rod or a bead of expanding foam. Let the foam cure, trim it flush, then apply sealant over the top.
Dealing with the cap flashing
The junction between the top of the balcony glazing and the wall above it is one of the most common leak points. If the original cap flashing has pulled away from the wall, reseal it: clean the gap, apply polyurethane sealant into the joint, and press the flashing back into position. In severe cases the flashing should be removed, a new bed of sealant laid, and the flashing reinstalled with mechanical fasteners.
Waterproofing the balcony floor and ceiling
If the slab itself is the problem — water coming through from above — a coating approach works well. Polyurethane waterproofing mastic is applied in two coats with a reinforcing mesh embedded in the first coat. Each coat needs about three days to cure. Using two contrasting colors (for example, gray for the first coat and white for the second) makes it easy to confirm full coverage. A quality polyurethane mastic can last upward of twenty years.
Preventing Leaks Before They Start
Most of these problems are cheaper to prevent than to fix. A short checklist for Ramona homeowners heading into the rainy months:
- Inspect weatherstripping on all windows and balcony doors once a year. Replace any gasket that feels hard or shows cracks.
- Clean out window drain holes at least once a year — a toothpick or thin wire is all it takes.
- Lubricate window hardware (hinges, locks, cams) with a light machine oil or silicone spray annually.
- Check that all windows are switched from summer to winter mode before the first heavy rain.
- Walk the exterior and look at every joint where the building envelope meets a window frame, a balcony slab, or a piece of flashing. Crumbling caulk is easier and cheaper to replace before water finds its way through.
- On exposed foam — the expanding foam visible around frame edges — apply a UV-protective coating or cover it with trim. Unprotected foam degrades within a couple of seasons.
Taking care of these details in early fall, before the wet weather arrives, is vastly simpler than dealing with stained walls, mold, and damaged finishes after a few storms have already done their work.
Once the leaks in your Ramona home are sealed, keep an eye on the damp they leave behind: see controlling indoor humidity to stop mold. West of town, we also cover water damage in Escondido homes.